
Water Where the Floor Meets the Wall: the Cove Joint
Water arriving at the seam between your floor and your wall is not a crack and not a leak in the usual sense. It is the one gap every poured basement was built with, doing exactly what an unsealed gap does.
- Free measured diagnosis within 48 hours
- Own crews, no commissioned salespeople
- 20+ on Chicago-area foundations, 1,500+ homes
 Cove joint systems: lifetime, fully transferable warranty
The short answer
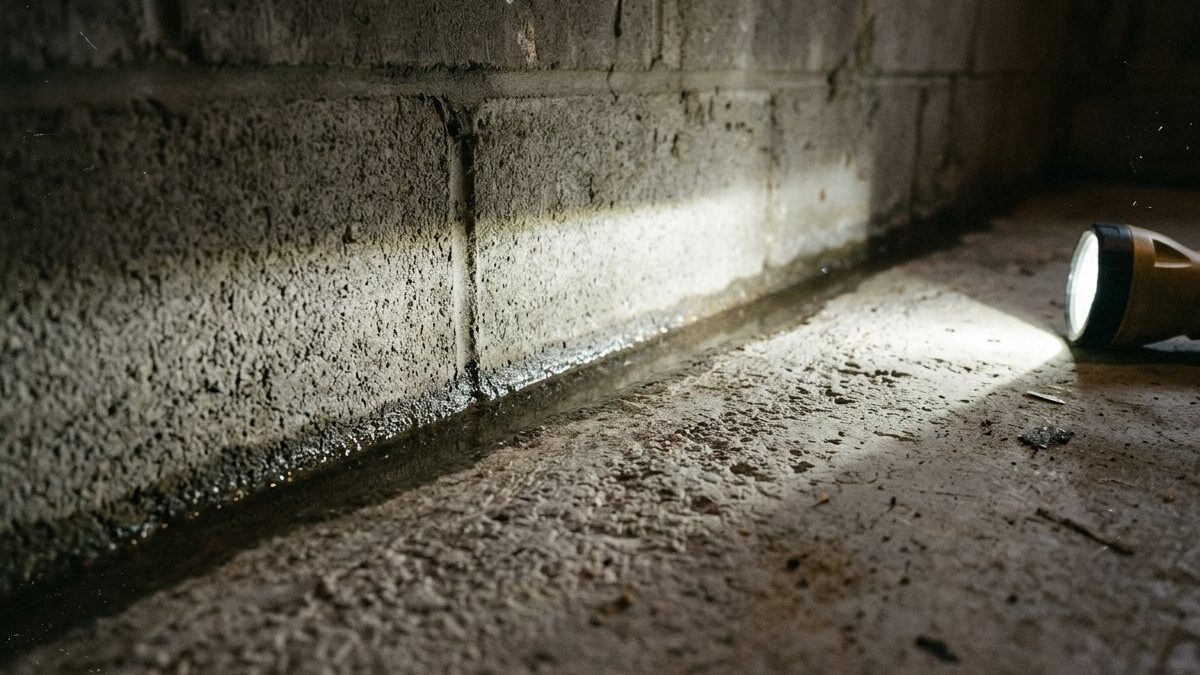
The cove joint is the seam where a basement floor slab meets the foundation wall. The slab was poured separately and never bonded to the wall or footing, so a continuous gap runs the whole perimeter. When groundwater rises under the slab, it takes that gap because it is the lowest-resistance path into the room.
Nobody built a defect into your basement. Concrete shrinks as it cures, so the floor slab was poured against the wall rather than joined to it, leaving a deliberate seam that lets the two move independently. Below that seam sits the footing and whatever soil and stone the builder left. When water collects down there and the level rises above the underside of the slab, the seam becomes the shortest route into a dry room. Nothing has broken. The joint is simply doing the only thing an unsealed joint can do.
This is the single most common wet spot we open up across Cook, Will, DuPage and Kane counties, and the reason is under your feet. Dense clay holds storm water for days instead of letting it drop away, so the water table under a Chicago slab spends a lot of the year sitting close to floor level. Add block walls with hollow cores that unload at the bottom course and the cove takes water from two directions at once. Our symptom guide can help you confirm that this is what you are looking at.
Why does water come up where the floor meets the wall?
Water reaches the cove from underneath and from inside the wall, not from the room. Understanding that direction is what tells you which repairs can possibly work.
Follow the water from the yard to the seam and the whole thing makes sense in five moves.
-
Water collects at the footing
Rain and snowmelt drain through the backfill beside the house and stall at the footing, where clay slows everything down. On lots without working perimeter drainage that water has nowhere to go but up into the stone and soil under your slab.
-
The level rises under the slab
A concrete floor is heavy but it is not a seal, and it is not tied to the wall. As the water under it rises, it presses upward across the whole slab and sideways at the edges, looking for the first opening it can reach.
-
The seam is the easy path
That opening is the cove. It runs the entire perimeter, it is continuous, and it is only as tight as the day the concrete was screeded. Water does not need pressure to move through it, only somewhere lower to be.
-
Block walls feed it from above
On a block foundation the hollow cores fill during a wet stretch and drain out at the bottom course, which sits right at the joint. That is why block basements often show a wet line at the cove long after the storm has passed.
-
It appears in the low corners first
Basement floors are rarely dead level, so the water shows up wherever the slab falls. Homeowners find it in one corner and assume that corner is the problem, when the entry may be twenty feet away along the same seam.
What a cove leak usually means
- Groundwater at the footing, not roof water hitting the wall face
- Perimeter drainage that is missing, silted shut or never installed
- A wall that is structurally fine in most cases
- A repair priced by the linear foot rather than by the crack
What it is not
- A crack: cracks run through concrete, the cove runs between two pours
- Condensation: that shows on the wall face, not out of a seam
- Something a coating can hold back, because the push comes from behind
Why does sealing the cove joint keep failing?
Patching the cove is the most common do-it-yourself basement repair in the region, and it is the one we get called back to undo most often. The reason is physics, not workmanship.
Here is the arc a patched cove joint runs through, usually inside two or three seasons.
-
The patch goes on the wrong side
Hydraulic cement, epoxy paste and caulk are all applied to the room side of the seam. That puts the repair on the face the water is pushing against, so the joint is holding the patch on rather than the patch holding the water back.
-
It works beautifully at first
The basement stays dry through the next few rains and everyone relaxes. What has actually happened is that the water is still arriving and is now looking for a different exit, which it has plenty of time to find.
-
The water moves sideways
Sealing twelve feet of cove sends the water to foot thirteen, or up a floor crack, or into the block cores. People describe this as the leak moving. It never moved. It was always the whole perimeter.
-
The bond gives up
Concrete moves seasonally, the slab and the wall move by different amounts, and the patch sits exactly on the line between them. Freeze and thaw cycles and constant wetting break the bond, usually starting at a corner.
-
Now the diagnosis is harder
A patched, painted, repatched cove hides the mineral trails and stain lines that tell an inspector where water actually entered. We can still work it out, but you paid twice and buried the evidence in the process.
When a patch is genuinely worth doing
- As a stopgap before a scheduled system install
- On a single short run where the source is being fixed outside
- To keep a finished floor dry for a few weeks, knowingly
What to expect from it
- A dry season or two, then water somewhere new
- No warranty from anyone, including us, on a surface patch
- A wall face that now needs grinding before a real repair
- A buyer's inspector who reads fresh patching as a red flag
Seal the joint, or drain below it?
There are two honest ways to respond to a wet cove joint, and they are not equal. One holds water back at the seam, the other removes the water before it gets there.
| Sealing the cove | Interior drain tile | |
|---|---|---|
| What it does | Blocks the seam from the room side | Collects water at the footing before it reaches the seam |
| Which side of the water it sits on | The side being pushed against | Under the slab, where the water already is |
| Handles a rising water table | No | Yes, because a pump keeps working |
| Typical service life | A season or two in most basements | Built to outlast the owner |
| Cost | Materials and a weekend, or a low four figures done for you | $95 to $160 per linear foot |
| Disruption | Almost none | A one foot channel around the treated walls, one to three days |
| Effect on a home sale | Reads as a cover-up to most inspectors | A documented, transferable repair |
| Warranty | None we would put our name on | A lifetime, fully transferable warranty on the system |
The exception is a genuine crack near the joint rather than the joint itself. That is a different repair with a different price, and a leaking foundation crack walks through how the two are told apart.
Water at the floor line again? We measure the whole perimeter, mark the entry points and quote from published ranges, free within 48 hours.
How cove leaks show up by house era
Every basement has a cove joint. What differs is how the water gets to it and what else is failing at the same time.

Pre-war bungalows and two-flats
The original clay tile at the footing has silted or collapsed, so water sits under the slab most of the wet season. Cove seepage here is steady and unglamorous, often showing first at the front wall on the gangway side.
Full perimeter, usually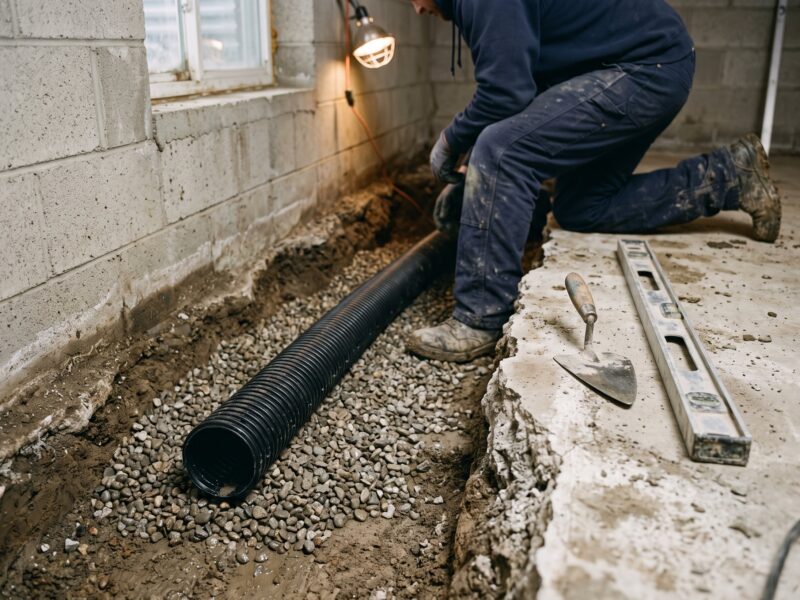
Post-war block ranches
Hollow block cores fill from above and unload at the bottom course, right into the joint. This is the classic wet cove: the wall looks fine at eye level and the floor line stays damp for days.
Weep holes and drain tile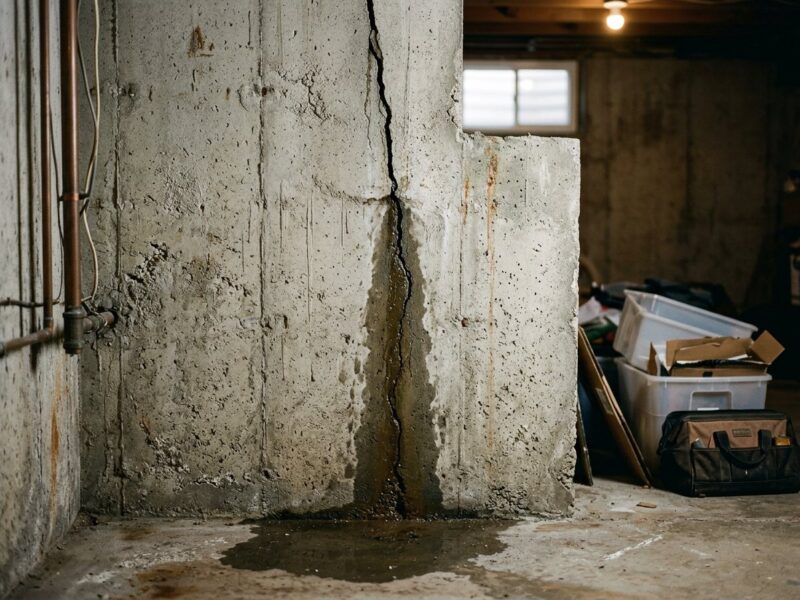
1980s and 90s poured walls
Cove seepage competes with a shrinkage crack or two. Working out which one is actually wetting the floor decides whether you buy a $450 to $900 injection or a system.
Diagnose before you buy
Newer subdivision homes
Perimeter drainage exists and often still works, so a wet cove usually means the pump, the discharge or the settled grade outside has quit doing its part. Check those three before assuming the system failed.
Check the pump firstWhat does a wet cove joint cost to fix?
We quote cove work from the same published sheet in every county we serve. Interior drain tile runs $95 to $160 per linear foot, and a full perimeter system on a typical Chicago basement lands between $8,000 and $16,000.
| Work | Range | What moves the number |
|---|---|---|
| Interior drain tileper linear foot | $95–$160 | Length of the run, slab thickness, what has to be moved off the walls |
| Sump pump with battery backupinstalled | $2,800–$4,500 | Pit condition, backup capacity, discharge routing |
| Downspout extensions and regradingtypical job | $600–$2,500 | Feet of grade to rebuild, soil hauling |
Most cove jobs are partial rather than full perimeter, because only the wet runs need treating. Sixty feet of drain tile at the published rate is roughly $5,700 to $9,600 before the pit and pump, and every one of those numbers is on the cost page.
When the floor line is wet for another reason
Not every damp perimeter is a cove leak. Four things fool people regularly, and three of them cost almost nothing to rule out.
It is condensation running down to the floor
Humid summer air hitting a cool wall sheds moisture that collects at the bottom and looks exactly like seepage. Tape a square of foil tight to the wall for two days: wet on the room side means air, not groundwater. Humidity and dehumidifiers covers the fix.
Costs nothing to testA supply or drain line is weeping
A pinhole in a copper line inside the wall cavity, or a slow leak at a laundry connection, wets the floor line without any rain at all. If the wet spot ignores the weather, shut the main for two hours and watch the meter, then call a plumber.
Not our workThe water is coming from the roof
A downspout dumping beside the wall pushes water straight down to the footing at that one spot, and it comes up at the cove nearby. Correcting the discharge and the grade for $600 to $2,500 fixes some of these outright. Grading and slope is the starting point.
Cheapest real fixThe pump quit and nobody noticed
In a house that already has drain tile, a wet cove usually means the water is no longer being lifted out. A stuck float or a frozen discharge line will do it. Pour a bucket into the pit, confirm the pump runs, and check the outlet before you call anyone.
Five minute checkQuestions homeowners ask about the cove joint
Is a leaking cove joint a structural problem?
By itself, no. The cove is a construction seam, not a fracture, and water passing through it says nothing about whether your wall is sound. What does matter is what else is happening on that wall. If the block courses are stepping sideways, or a horizontal crack has opened partway up, the two issues get assessed together. We measure the wall on every visit for that reason.
Can I seal the cove joint myself with hydraulic cement?
You can, and it will hold for a while. The trouble is that you are patching the face the water pushes against, on a seam between two slabs that move at different rates. Expect a dry season or two, then water at the next weak point along the perimeter. Treat it as a stopgap before a scheduled repair rather than as the repair itself.
Do I need the whole perimeter done?
Often not. We scope drain tile to the runs that are actually taking water, which on many houses is one or two walls rather than four. What tips a job toward full perimeter is a high water table, block walls seeping in several places, or a finished basement where opening the floor twice would cost more than doing it once. We put the recommended footage in writing.
Why does the water appear in one corner only?
Because basement floors slope. Water can enter the seam along a whole wall and still collect in the single lowest square foot of the room, which is where you find it with a flashlight. That is why we chalk and inspect the full perimeter rather than treating the corner where the puddle sits. Treating the puddle is how people end up paying twice.
Will drain tile stop the cove leak permanently?
Yes, when it is installed to the footing and pitched properly, because it removes the water before it can reach the seam. The pipe is bedded in washed stone and wrapped so silt cannot pack it the way old clay tile packed itself shut. Our interior systems carry a lifetime, fully transferable warranty that stays with the house when you sell. <a href="/interior-drain-tile/how-interior-drain-tile-works/">How the system works</a>.
What is that white crust along the wet line?
Mineral salts left behind after the water evaporated, which is a useful record of where and how high the water reached. It is not mold and it is not damaging the concrete on its own, but it does confirm that the moisture is coming through the masonry rather than out of the air. <a href="/basement-foundation-problems/efflorescence/">Efflorescence</a> explains how to read it.
What the repair actually involves
Once you know the cove is the entry point, the next question is what a crew does about it and how long you lose the room for. Our cove joint repair page walks through the channel, the weep holes on block walls, the pit and the concrete going back down, with the published footage rates we quote from.
See how cove leaks get sealed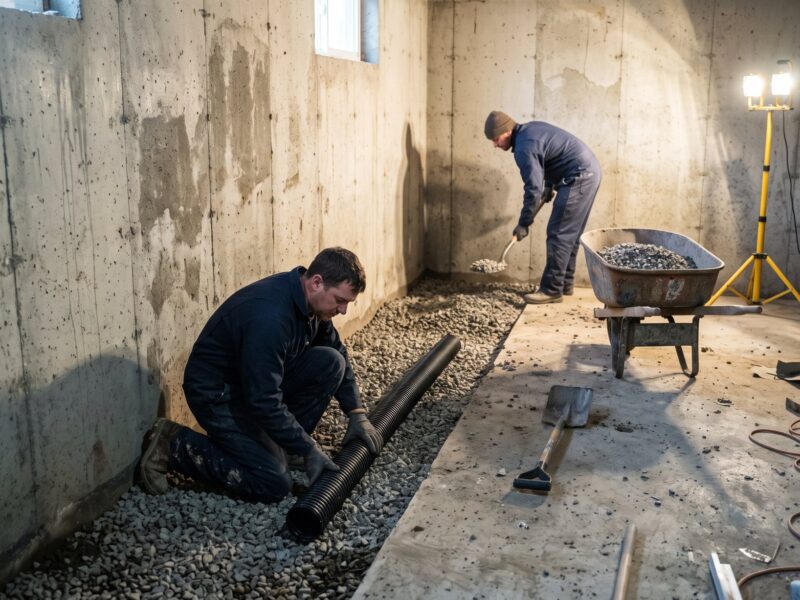

Get the floor line dry and keep it that way
Free written diagnosis within 48 hours, published per-foot pricing, and a lifetime, fully transferable warranty on the system we install.
Or talk to a human right now
(630) 335-1128
Request your free estimate
Tell us what you're seeing. We'll call back fast and be out within 48 hours.